How to set up your file for large format printing

Getting your file right before you send it saves time and makes sure your banner or yard sign looks exactly the way you want it. This guide walks you through everything you need to know.

Products covered in this guide

These file prep guidelines apply to both vinyl banners and yard signs.
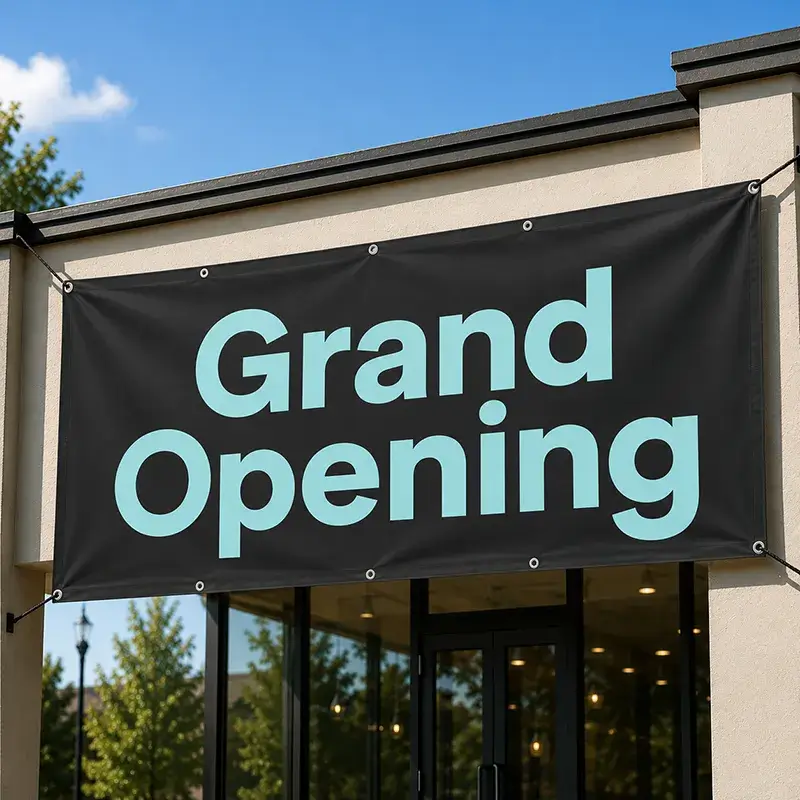
Vinyl banner

Vinyl Banners

Durable, weather-resistant vinyl banners for indoor and outdoor use. Great for events, storefronts, trade shows, and promotions.

2×4 ft 2×6 ft 2×8 ft 3×6 ft 3×8 ft 4×8 ft 4×10 ft Custom sizes available
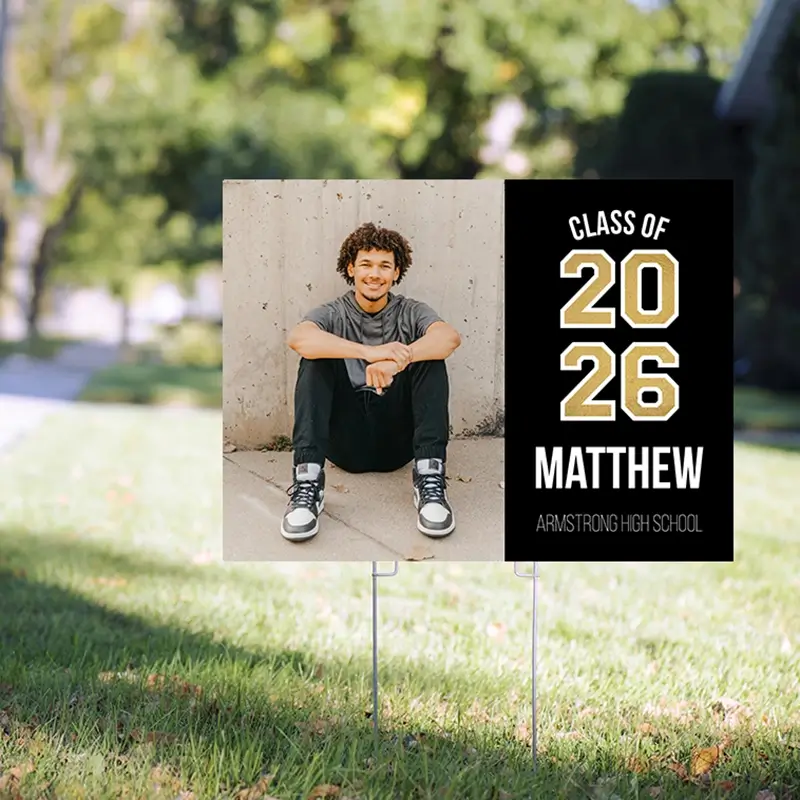
Yard sign

Yard Signs

Corrugated plastic signs printed on one or both sides, with or without wire H-stakes. Popular for real estate, events, elections, and businesses.

12×18 in 18×24 in 24×36 in Custom sizes available

What makes a good large format file

Resolution

Large format prints are viewed from a distance, so you don't need 300 DPI like you would for a photo print. For banners and yard signs, 100–150 DPI at the final print size is ideal. Going lower than 72 DPI will produce a visibly blurry result.

Color mode

Set your file to CMYK color mode, not RGB. RGB is for screens and will shift in color when printed. If you only have an RGB file, we can convert it for you, but setting it up in CMYK from the start gives you the most accurate result.

Bleed

Add at least 0.25 inches of bleed on all four sides. Bleed is extra artwork that extends beyond the edge of your design so there are no white borders after trimming. Any background color or image that goes to the edge must extend into the bleed area.

Safe zone

Keep all important text and logos at least 0.5 inches away from the edge of your design. This is called the safe zone. Anything too close to the edge risks being trimmed off or too close to grommets on a banner.

Fonts

Outline all fonts before saving your file. This converts your text into shapes so the correct font is always preserved, even if we don't have it installed. In Adobe Illustrator go to Type → Create Outlines. In Photoshop, flatten or rasterize text layers.

File formats we accept

Send us your file in one of these formats for the best results:

PDF AI EPS JPG

PDF is preferred. If submitting a JPG, make sure your resolution is at least 100 DPI at the actual print size.

Vector vs. raster artwork

Vector files (AI, EPS, PDF) are made of mathematical paths, not pixels — meaning they can be scaled to any size without losing any quality. This makes them ideal for large format printing. Logos, text, and graphics created in Adobe Illustrator are vector by default. Raster files (JPG, photos) are pixel-based and can look blurry when printed large if the resolution isn't high enough.

Why vector is better for logos and text

If your design includes a logo or any text, try to get those elements in vector format. A logo saved as a JPG can look sharp on screen but blurry on a 4-foot banner. The same logo as an AI or EPS file will be crisp at any size. If you only have a JPG version of your logo, ask us — we may be able to help recreate it as a vector.

Step-by-step: setting up your file

Follow these steps before sending us your file and you'll be good to go.

1

Set your document to the correct size

Create your file at the exact finished size of your banner or yard sign. For example, if you're ordering an 18×24 inch yard sign, your document should be 18×24 inches. Do not design at a smaller size and scale it up later — this reduces quality.

2

Use vector artwork wherever possible

Build your design in a vector-based program like Adobe Illustrator if you can. Vector artwork scales to any size without losing sharpness — which matters a lot when your design is going on a 4-foot banner. If you have a logo saved as a JPG, try to source the original vector file from whoever designed it. Most professional logos are created in Illustrator and saved as an AI or EPS file.

3

Add 0.25 inches of bleed on all sides

In your design software, add a 0.25 inch bleed when setting up your document. Extend any background colors or images to fill the bleed area completely. If your software doesn't support bleed settings, make your document 0.5 inches wider and taller than your final size and fill the extra space with your background.

4

Set your color mode to CMYK

In Photoshop go to Image → Mode → CMYK Color. In Illustrator go to File → Document Color Mode → CMYK. If you're working in Canva or another online tool, export as a PDF with CMYK selected if the option is available.

5

Keep text and logos inside the safe zone

Make sure no text, logos, or important design elements are within 0.5 inches of any edge. This protects them from being trimmed or too close to a grommet hole on a banner. If your software supports guides, set one 0.5 inches in from each edge as a visual reminder.

6

Outline your fonts

Select all text in your design and convert it to outlines or curves before saving. In Adobe Illustrator: Select All, then Type → Create Outlines. In Photoshop: right-click your text layer and choose Rasterize Type. This ensures your fonts print exactly as designed.

7

Export as a high-resolution PDF

Save or export your final file as a PDF. In Illustrator or InDesign use the PDF/X-1a or PDF/X-4 preset for the best results. Make sure "Use Document Bleed Settings" is checked when exporting. If you're submitting a JPG instead, confirm it is at least 100 DPI at the final print size.

8

Send us your file or bring it in

Upload your file when placing your order online, email it to us, or bring it in on a USB drive. If you're not sure your file is ready, bring it in and we'll take a look before you commit to an order. We'd rather catch an issue early than reprint something.